Have you ever bought a product that had been on your shopping list for such a long time?
It’s an amazing feeling, and as a customer you usually want to extract maximum utility from the item in the simplest way possible.
That’s why a number of us trawl the internet for comprehensive product care guides, as they’re generally great at educating us on how to look after our goods in a safe and responsible way.
So, with that in mind, today I thought I’d publish a thorough 10-point guide on how to take of a soccer ball.
This is something that many soccer fans can benefit from, as the sport can’t be played without this necessary object.

Want to test your knowledge on soccer ball care?
Take the quiz by clicking the button below and see just how informed you truly are!
Note - You'll need to enter your email address to see the final results.












Alright then, enough said.
Let’s cut right to the chase!
- How do you maintain a soccer ball?
- 1. Play with it on recommended surfaces
- 2. Avoid sitting or standing on it
- 3. Pump it up to the correct air pressure level
- 4. Refrain from kicking it against walls
- 5. Lubricate the valve opening and the needle when inflating
- 6. Clean it between uses
- 7. Keep it away from harsh detergents and chemicals
- 8. Protect it from potential scratches
- 9. Deflate the ball after use
- 10. Store it at a room temperature location
- Final thoughts
How do you maintain a soccer ball?
I could probably write a book covering all the different factors that go into maintaining the playing condition of a soccer ball, right from when the soccer ball is bought, up to and including the moment that it’s initially kicked.
But for the sake of the blog’s readership, I’ll condense all these things into a neat list.
Here goes…
1. Play with it on recommended surfaces
Ball should meet grass and grass should meet ball.
The most ideal playing venues for soccer balls are natural grass pitches and synthetic turf surfaces.
I have more information on this within my article on where soccer should be played.
Now, you may probably think that having a brief 5-aside game with a bunch of your friends on the concrete within your neighbourhood is a good idea.
But trust me, it most certainly isn’t!
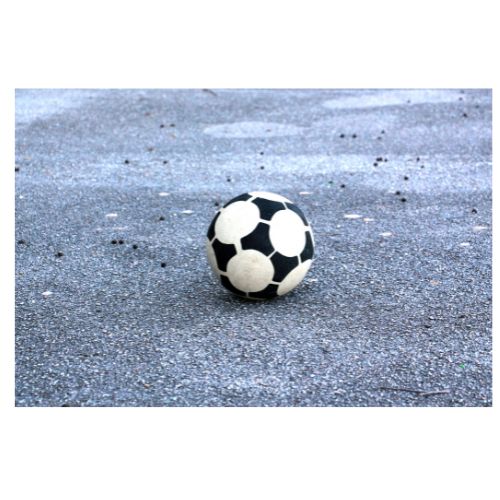
You see, surfaces like concrete, asphalt and gravel are so abrasive that when the ball rolls or skids along them, its outer covering gets scraped continuously.
And over time the soccer ball may lose air, which in itself becomes a time and/or monetary cost to fix because of the damage that has been caused by playing on these rough surfaces.
2. Avoid sitting or standing on it

One of the most innocent things you’ll see on a soccer pitch is when a participant sits on a soccer ball to catch a quick breather.
All they’re trying to do is recuperate and catch their breath after a period of intense activity, but the effect of all the body weight burden that is placed can be detrimental to how long that soccer ball lasts.
More so, the pressure that is applied on a ball when a person sits on it is enough to deform its spherical shape.
On the other hand, standing on a soccer ball is not only unsafe because a person can easily fall over when trying to balance themselves on top of it.
It also has the same effect of applying unnecessary downforce on a particular section of the ball, which damages its overall structure.
3. Pump it up to the correct air pressure level
Almost every soccer ball manufacturer has a specific set of guidelines on the amount of air that is needed to fully inflate each size of the soccer balls that they produce.
You will usually find this fine print on the underside of the ball and it’s really important that you stick to the stated pound per square inch (PSI) level.
I produced a handy soccer ball pressure guide that does a fine job of detailing the recommended inflation levels for each standard size of ball, so check that out when you’ve got some extra time on your hands.
Here’s the most important excerpt to take away from that article:
| Ball Size | Recommended psi | Use Case |
|---|---|---|
| Size 1 | Less than 6 | Toddlers and kids |
| Size 2 | Less than 6 | Kid play |
| Size 3 | 6 to 8 | Casual kickabouts |
| Size 4 | 8.5 to 11.6 | Training games and futsal |
| Size 5 | 8.5 to 15.6 | Professional match standard |
Ultimately, a player will want the soccer ball to respond in the correct way once it is kicked.
This can only be achieved when it is neither over-inflated or under-inflated, as the former will result in awkward bounces and kicking discomfort, whilst the latter doesn’t provide the necessary movement along the ground or in the air.
One thing I’d like to add is that if you don’t have a soccer ball pump for inflating a ball, the you should go ahead and buy one right away.
If you’re willing to splash the cash, get yourself an electric one!
4. Refrain from kicking it against walls
If you’ve played table tennis before, you will know that hitting the ball against the wall is a great way of sharpening your ball control skills.
The same improvement in ability applies to soccer when you hit a ball against the wall.
You’re able to react each time it rebounds off of that surface, with the aim being to hone one’s footwork and increase quick touch capability.
Unfortunately, the ball isn’t able to handle repeated contact with a hard wall.
Its shape is likely to warp over time and that is no good, because you will be left with a ball that doesn’t bounce in a uniform way.
However, if you don’t want to give up on this form of practice then I’ve got good news for you!
You can buy a soccer ball rebounder, as this nifty piece of gear is a great replacement for your wall and provides even better bounce and spring back capabilities than any section of concrete ever could.
5. Lubricate the valve opening and the needle when inflating
One thing that a lot of people tend to forget – or aren’t even remotely aware of – is the fact that moistening both the inflation needle and the valve opening provides a much smoother and safer pumping experience.
It’s a step that takes as little as five seconds to complete, yet so many people don’t even bother to do it!
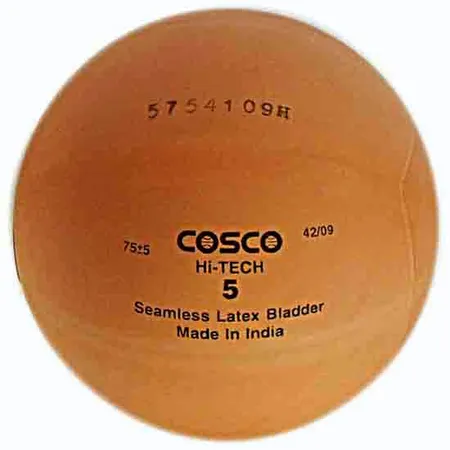
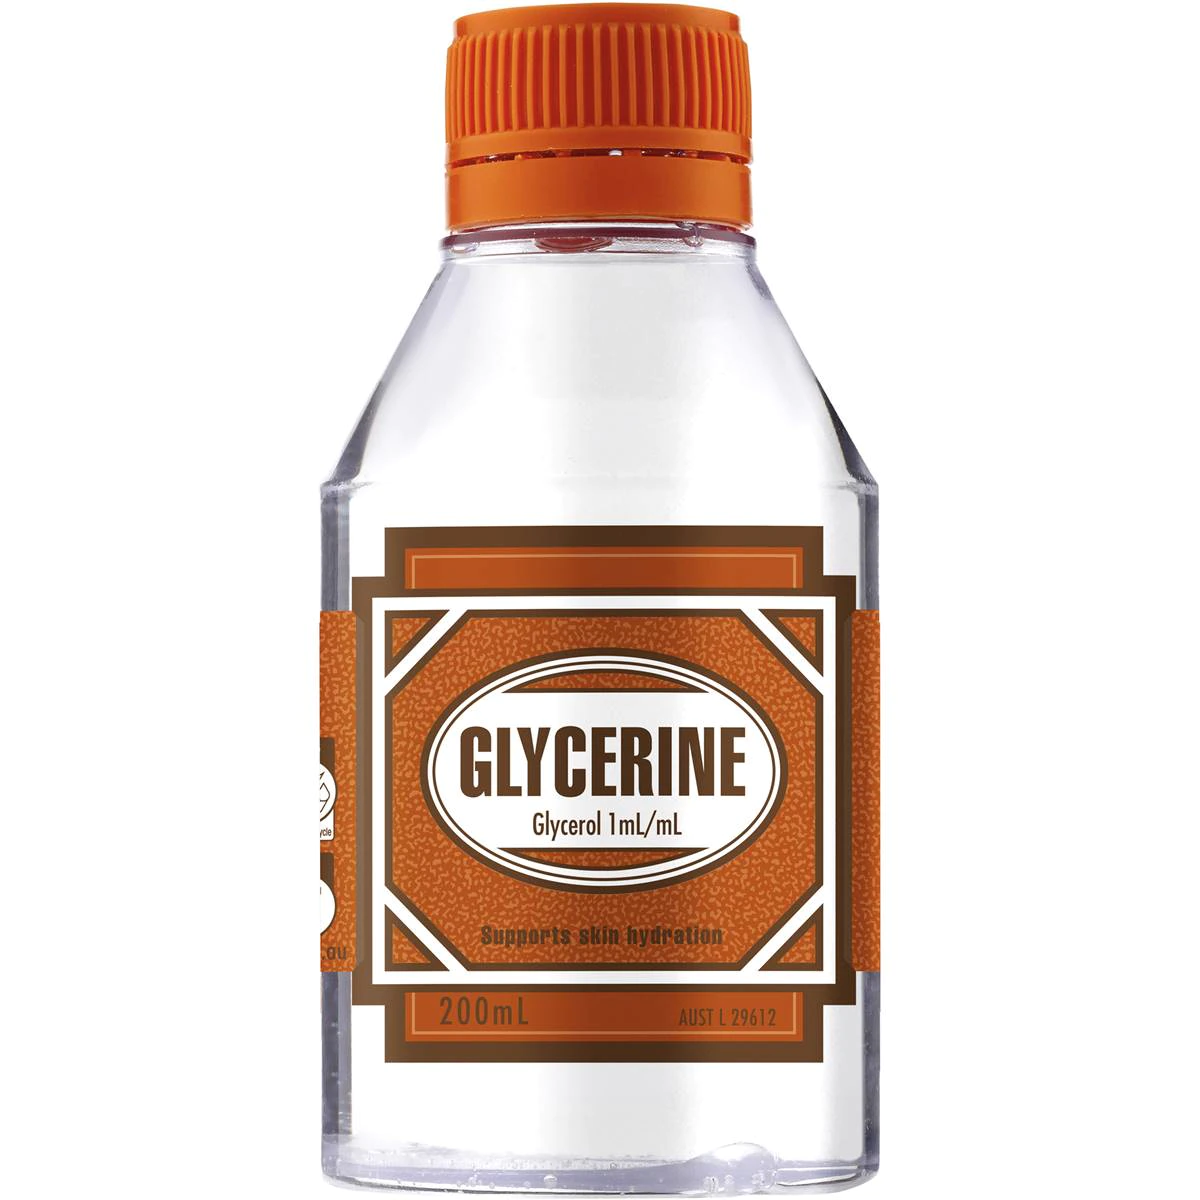
So, place a few droplets of glycerine or silicone oil onto the valve stem and the needle before you begin pumping it up.
Doing so ensures that the valve opening seals up correctly, thereby preventing premature air loss.
The oil serves a pretty important function, as its presence helps to clear away any lingering debris that could be sitting within the valve, as that could potentially damage that area of the ball.
6. Clean it between uses
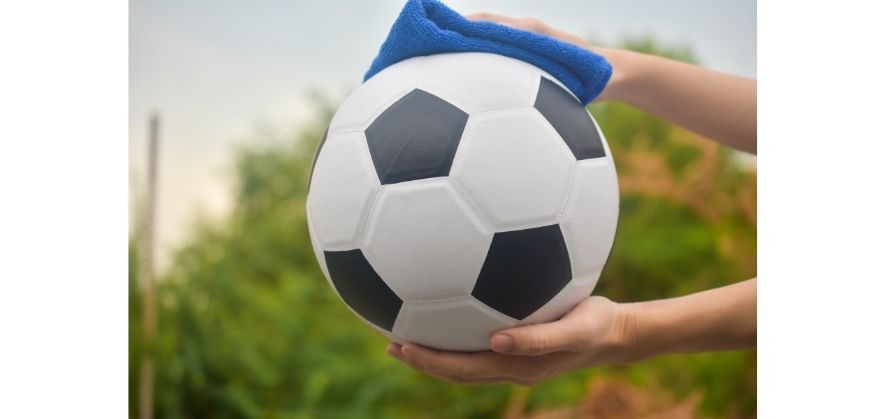
Your soccer ball is bound to gather up little bits of dirt and grime once it’s played with frequently and for long time periods.
The soccer ball cleaning guide we have on this blog should take you each step of the way when you want to restore your ball to its original sparkling state.
Get yourself a clean cloth and dampen it before gently wiping the outer surface of your ball.
This should help rid it of any scuff marks and pieces of mud that collect.
Furthermore, you will want to steer well clear of aggressive cleaning techniques such as:
- Power washing
- Hard brushing
These methods are too abrasive for the material that a soccer ball is made of, and the last thing you’ll want is to alter the appearance of our ball from a simple wash.
7. Keep it away from harsh detergents and chemicals
On a similar note, avoid using harsh detergents and chemicals on your soccer ball like the plague!
Any strong bleaches, detergents or soaps are bound to cause deterioration to the outer surface of your ball.
What’s more is the fact that you also have to consider the impact of using things like bleach on your own health.
Exposure to bleach causes things like eye and skin irritation, so you’re much better off going with something softer on the body if you really want to disinfect your ball.
8. Protect it from potential scratches
When you’ve got a pet or two as a life partner then you’re bound to encounter a couple of teething problems, particularly when you have a newly purchased soccer ball sat in the house.
For instance, dogs can play many different games with soccer balls.
And because they like to grip onto this object with their claws or their sharp teeth, they are very capable of scratching your ball in a split second.
Other household hazards include sharp countertop edges and the corners of walls, as these areas are pointy enough to leave a scrape or even a dent in your ball if you’re not careful enough.
So, I would encourage all soccer play to be taken outside the home, even if your child or pet is likely to throw a strop as a result.
9. Deflate the ball after use
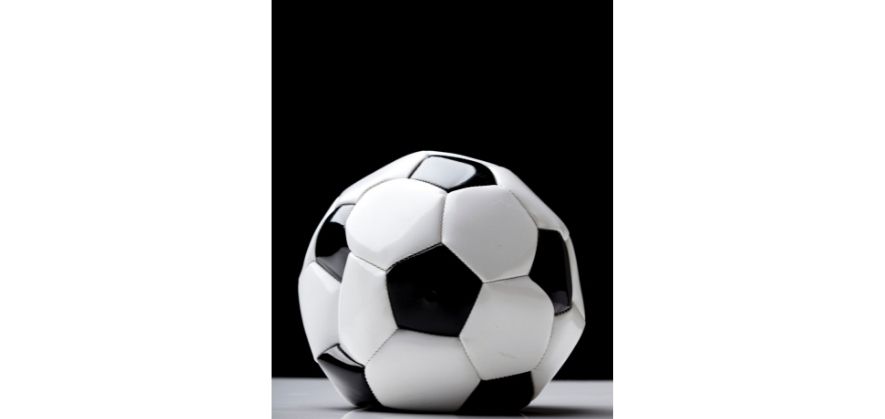
If you’ve finished playing with your soccer ball and don’t intend on using it for a fair amount of time, it is advised that you deflate it.
Why, you may ask?
This action allows the bladder and shell to rest, whilst also reducing the tension on the outer stitching.
A fully pumped soccer ball has air molecules colliding within it at an extreme pace, and by relieving that pressure, the ball gets a chance to recover from all the tension that it has been put under.
From a performance perspective, you give your ball a greater lifespan by deflating it on occasion.
Now, you may not see this as something that is practical to do for your training balls, but it makes a lot of sense for those high-end match balls that are used for competition much more sparingly.
10. Store it at a room temperature location
Lastly, you will want to store your soccer ball in a room temperature location after using it.
This is because extreme changes in outside temperature place stress on the material make-up of the ball, which only reduces its useful life.
Not everyone will have an ideal place to keep their ball, but leaving it outside in the wet and windy conditions can do a lot of irreversible damage.
Final thoughts
Taking care of your soccer ball is by no means an easy task.
But if you’re able to follow the guidelines that I’ve laid out in this article, then you’ll be on your merry way to using your soccer ball for many months and years to come.
Should you wish to read another one of our guides on soccer balls, then check out our informative step-by-step process on how to draw them.
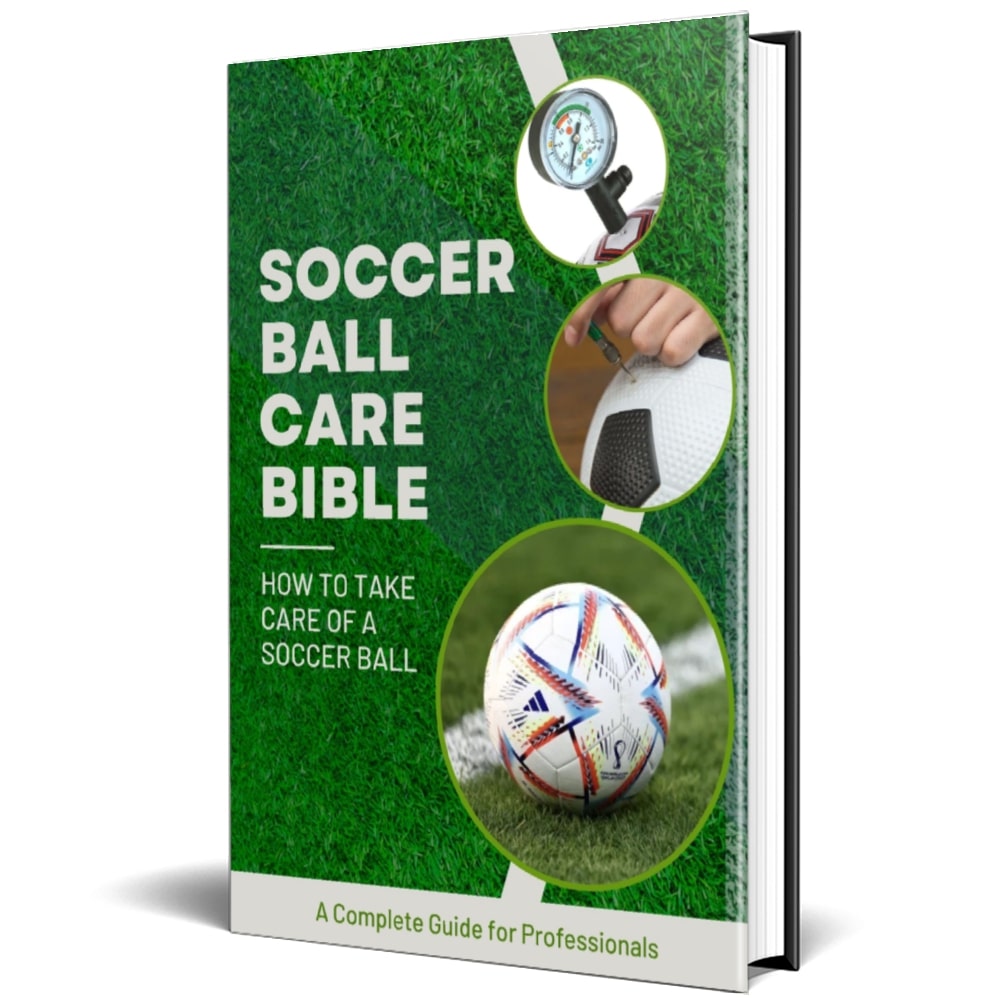
Finally, before you go, you should check out our eBook on Soccer Ball Care.
Within this monster of a resource, we tackle all there is to know about looking after a soccer ball and maximising its useful life right from when you purchase this type of product.
This eBook covers a plethora of different topics, such as:
- soccer ball construction;
- inflation and pressure management;
- cleaning and maintenance;
- soccer ball storage; and
- how to extend the useful life of your ball
In just a couple of hours, you’ll have more knowledge on what is good and bad for your soccer ball than you could ever fathom!
You’ll learn how to inflate your soccer ball to the correct level of air pressure based on the size of ball you have, as well as know how to clean and store your soccer ball properly after games.
But I don’t think there’s anything better than being able to effectively troubleshoot problems with your soccer ball and fix them yourself!
So, you can finally take care of your soccer ball for many months to come, which without a doubt will save you time and money as won’t be searching for and buying a replacement any time soon.
With just one click…
Grab yourself a copy right now for only $29!
If you enjoy the content that I create and would like to buy me a coffee, then I’d really appreciate it!
Any money that I earn through this donation will be re-invested into more content for this website.
Additionally, by sending in a donation you’ll also receive a copy of my recently released 190+ page eBook on Soccer Ball Care, as well as be subscribed to our mailing list where you’ll be regularly informed on the latest developments concerning the Soccer Whizz blog.
- Future Icons: Europe’s Emerging Midfield Maestros Set for Glory - December 4, 2023
- Kickstarting a Revolution: How Soccer Transformed the United States Over the Last Four Years - October 7, 2023
- 4-1-4-1 Soccer Formation [Analysis] - September 23, 2023

